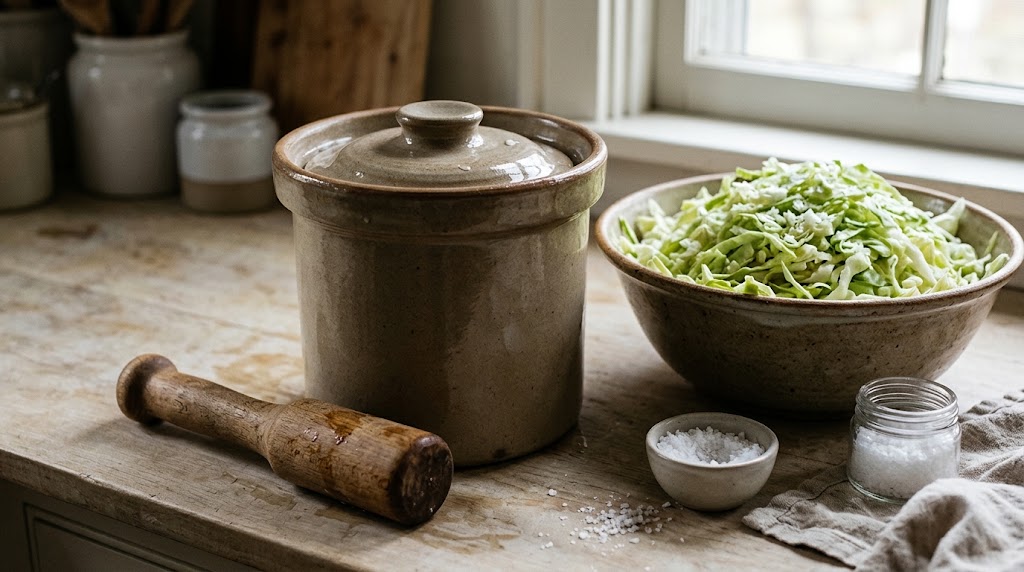
There is a moment in every home fermenter's kitchen when the cabbage is shredded, the salt is weighed, and you are staring at whatever vessel you grabbed from the cupboard, wondering whether this is actually going to work.
I have been on both sides of that moment. Early on, I packed vegetables into whatever wide-mouth jar was clean and hoped for the best. Sometimes it worked. Sometimes I opened a lid to soft, cloudy brine and a smell that told me the batch was over. The difference was rarely the recipe. It was the environment inside the vessel.
That is what this post is about: how fermentation vessels actually work, what a water-seal crock does that a jar often does not, and how to match the tool to the batch you make most often. If you want shortlists and current options, the full product research lives in our vegetable fermentation crocks, jars & kits guide.
What the vessel is really doing
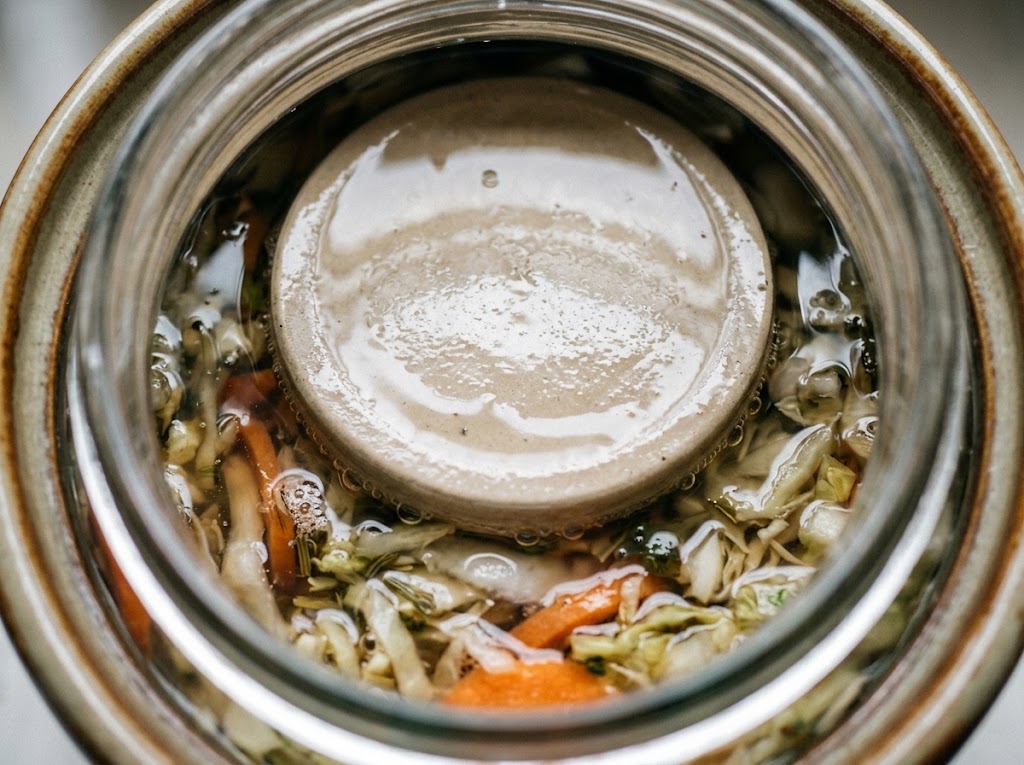
Vegetable fermentation is mostly lactic acid bacteria doing quiet work in a low-oxygen environment. Salt pulls water from the vegetables, creating brine. The vegetables stay submerged. Carbon dioxide builds. Acidity rises. Flavor develops.
Your job is not to "add fermentation." Your job is to protect that process from the two things that spoil it: oxygen at the surface, and vegetables floating into the air.
That is why almost every serious setup has three parts:
- A container that holds the batch and the brine
- Something that keeps vegetables under the brine (weights, a press plate)
- A way for CO₂ to escape without letting much air back in
Crocks, glass jars, and mason-jar kits all solve those three problems differently. Once you see it that way, choosing equipment gets simpler.
Crocks, jars, and kits: three different answers to the same problem
Ceramic water-seal crocks
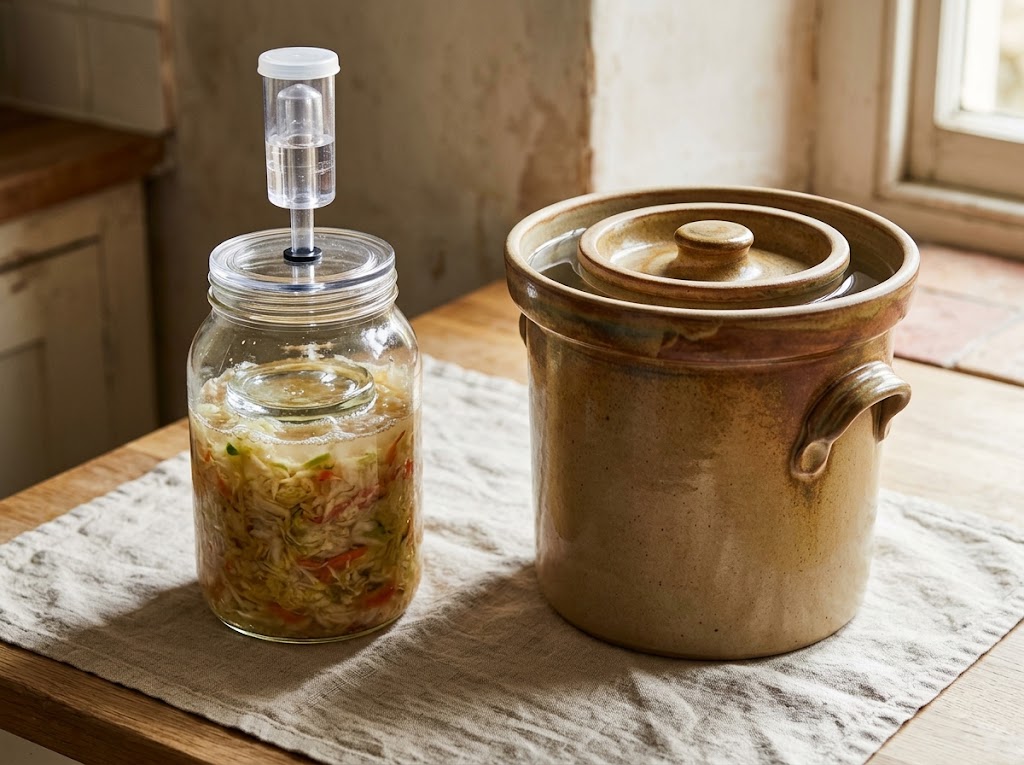
A traditional European-style crock has a channel around the rim. You fill the channel with water and set the lid on top. CO₂ can bubble out through the water lock. Fresh air has a much harder time getting back in. You do not need to burp the crock every day.
In kitchen terms: you pack it, fill the moat, and leave it alone for days or weeks. For anyone who has ever forgotten a jar on the back of the counter, that hands-off quality is the whole point.
The trade-offs are real. Ceramic is heavy, can crack if dropped, and does not let you watch the ferment. The water channel needs topping up every week or two if it evaporates. Capacity matters more than people expect: a large crock is a commitment piece; a small one fits apartment counters better.
Products already researched in this category include the Kenley 1-gallon crock (4L, water-seal lid, weights, and tamper), the Kenley ½-gallon crock (2L for smaller batches), the TOMO 3L crock, the Humble House Sauerkrock, the family-sized SEEUTEK 5L, and the heirloom-scale Ohio Stoneware 3-gallon set. Specs, sizes, and honest downsides for each are in the guide.
Glass jars and airlock setups
Glass wins on feedback. You can see brine level, bubbles, and activity without opening anything. Many home fermenters like that visibility when they are still learning what a healthy ferment looks like.
The common gaps: glass insulates less well than stoneware, clear glass should not sit in direct sun, and without weights vegetables float. A good glass setup still needs a weight and an airlock.
The JILLMO 1.5L glass jar set and larger Folinstall 1.5-gallon jars are examples of glass vessels already shortlisted on the site, both designed around airlocks rather than daily burping.
Mason jar kits
If you already own wide-mouth mason jars, a kit like Masontops Complete turns those jars into fermentation vessels with silicone airlocks, glass weights, and a tamper. Nothing new to store. Capacity per jar stays modest, and silicone airlocks have a shorter life than a water moat, but the economics are hard to beat for small batches and experiments.
How I think about size in a real kitchen
Ignore marketing labels for a second and think in cabbage.
- Around 1 to 2 liters: a couple of jars of kraut or kimchi; good for one or two people; fits a counter without becoming furniture
- Around 3 to 5 liters: a household batch; enough to share; still manageable when full
- 1 gallon and up: batch cooking, seasonal harvests, or "we eat fermented vegetables every week" habits
I would rather have the crock I will actually use every month than the impressive one that lives in a cupboard. If you are not sure which you are, start smaller. You can always ferment more often.
Related practical note: full crocks get heavy. A 5-liter crock packed with vegetables is not a casual lift. Plan where it will live while it ferments, not just where it will be stored.
Choosing for the ferment you actually make
| If you mostly… | Lean toward |
|---|---|
| Ferment weekly small batches | Small crock or mason-jar kit |
| Make kraut/kimchi in seasonal bursts | Larger water-seal crock |
| Want to watch the process | Glass jars with airlocks |
| Already own lots of mason jars | Accessory kit (weights + airlocks) |
| Want "pack and leave it" reliability | Water-seal ceramic crock |
None of these is "best" in the abstract. The best vessel is the one that matches your batch size, your patience for maintenance, and how visible you want the ferment to be.
What I would buy first (without overbuying)
If I were starting over on a practical budget, I would buy one vessel properly instead of three poorly:
- A water-seal crock in the size I would use monthly, or a glass jar with weights and airlock if I wanted visibility
- Weights if they are not included
- pH strips only if I wanted numbers; plenty of good kraut is made by smell, taste, and follow-the-tested-ratio methods first
Full product cards, ASINs, current Amazon links, and community-noted downsides are on the vegetable fermentation guide. For more on how we research and shortlist products, see our methodology.
Quick product links
- Kenley 1-Gallon Fermentation Crock (4L) — all-round starter crock
- Kenley ½-Gallon Fermentation Crock (2L) — small-batch size
- Humble House Sauerkrock (2L) — glazed weights, color options
- JILLMO 1.5L Glass Fermentation Jars — watchable glass setup
- Masontops Complete Fermentation Kit — upgrade jars you already own
Practical takeaways
- The vessel's job is oxygen control + keeping vegetables submerged + letting CO₂ escape
- Water-seal crocks are the most "set and forget" option for regular fermenters
- Glass jars teach faster because you can see activity
- Buy for the batch size you will actually make next month
- Do not skip weights; floating vegetables are the most common beginner failure
FAQ
Do I need a crock to ferment vegetables?
No. Plenty of good ferments happen in mason jars. A crock makes long, regular batches easier and less hands-on.
Why does my crock have a water channel?
It is a one-way gas valve. CO₂ leaves through the water; air has a harder time entering.
How full should I pack the vessel?
Leave headspace for weights and brine, and keep everything submerged. Exact pack guidance is easier to follow in tested recipes than in general advice.
Is plastic okay?
Some people use food-grade containers successfully (the E-Jen-style vacuum press is one approach). Traditional ceramic and glass remain the most common recommendations for temperature stability and inert contact surfaces.
As an Amazon Associate, I earn from qualifying purchases. Product links on this page may earn Culture & Crumb a small commission at no extra cost to you.